Authentic Korean Food: Spicy Pork Bulgogi Rice Bowl (Gochujang Bulgogi Deopbap)
Say Goodbye to Stress with this Sweet & Spicy 'Life-Changing' Gochujang Bulgogi Rice Bowl!
Say Goodbye to Stress with this Sweet & Spicy 'Life-Changing' Gochujang Bulgogi Rice Bowl! ✨
Do you ever have those days when you're feeling low on energy and have no appetite, but you're craving something spicy and satisfying? That was me just yesterday. I spotted some pork in the fridge and grabbed my pan without a second thought. Today, I'm sharing a recipe loved by everyone regardless of age: the Gochujang Bulgogi Rice Bowl!
You might think Spicy Bulgogi is complicated because of the marinating process, but my recipe is actually super simple. It’s so good that whenever my friends come over, they ask, "Did you order this from a restaurant?" Let’s get started on this restaurant-quality, smoky rice bowl right in your own kitchen! 🥣
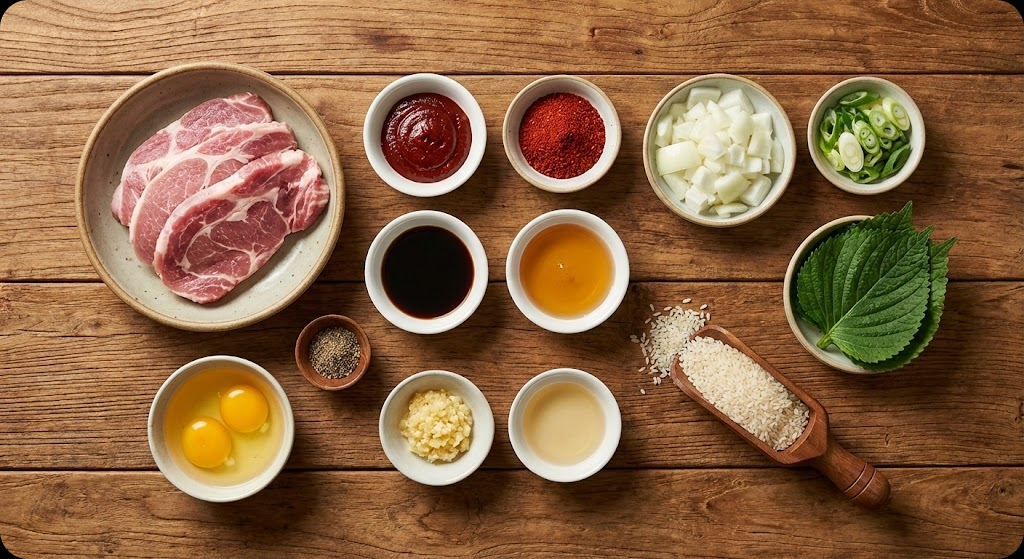
🥗 Prep the Ingredients (Serves 2)
First, let's check our ingredients. I've prepared a very generous portion for two. Remember, the fresher the ingredients, the deeper the flavor, so keep that in mind while shopping!
- Essential Ingredients: 400g (approx. 0.9 lbs) Pork (front leg or back leg), 1/2 onion, 1 green onion, 1 Cheongyang chili (or any spicy green chili), 2 bowls of steamed rice
- Sauce Ingredients: 2 tablespoons Gochujang (Korean chili paste), 2 tablespoons Gochugaru (Korean chili flakes), 1.5 tablespoons soy sauce, 2 tablespoons oligosaccharide (or honey/corn syrup), 1 tablespoon minced garlic, 1 tablespoon mirin (cooking wine), a pinch of black pepper
- Optional Ingredients: 5 perilla leaves (for that amazing aroma!), toasted sesame seeds, 1 tablespoon sesame oil, 2 eggs (for frying)
💡 Blogger's Pro Tip! I highly recommend using pork front leg (picnic shoulder) for the best value. It has a perfect balance of fat, making it tender rather than dry. If you prefer a leaner cut, go with the back leg, or if you love a rich, savory flavor, thinly sliced pork belly works beautifully too!
👩🍳 Let's Get Cooking!
Now, let's dive into making the Gochujang Bulgogi Rice Bowl. Just follow these steps one by one, and anyone can become a chef!
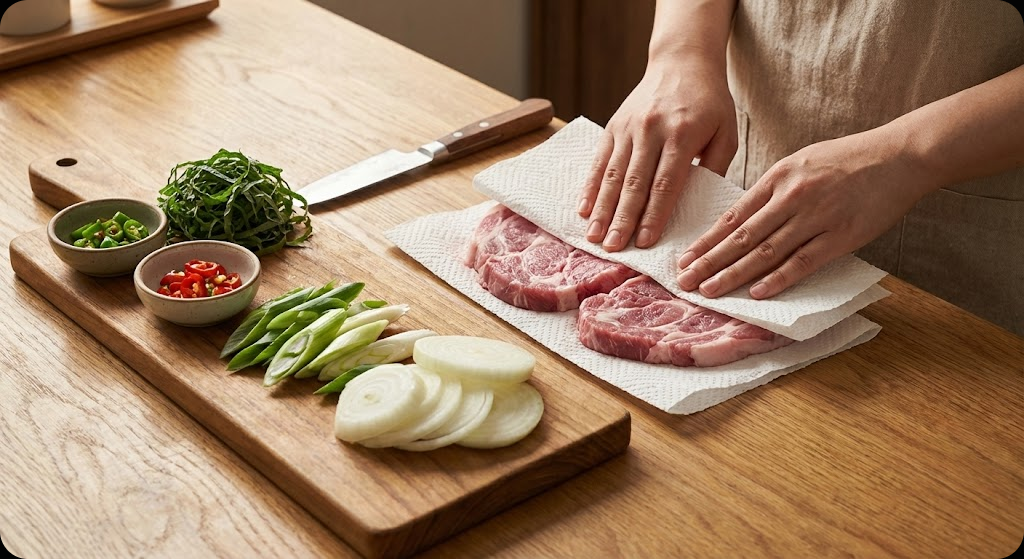
Step 1. Pat Dry the Meat & Prep the Veggies First, lightly pat the pork with paper towels to remove any excess blood. This is crucial for a clean, odor-free home-cooked meal. Slice the onion, diagonally cut the green onion, and finely chop the chili. Slice the perilla leaves into thin strips to use as a garnish later.
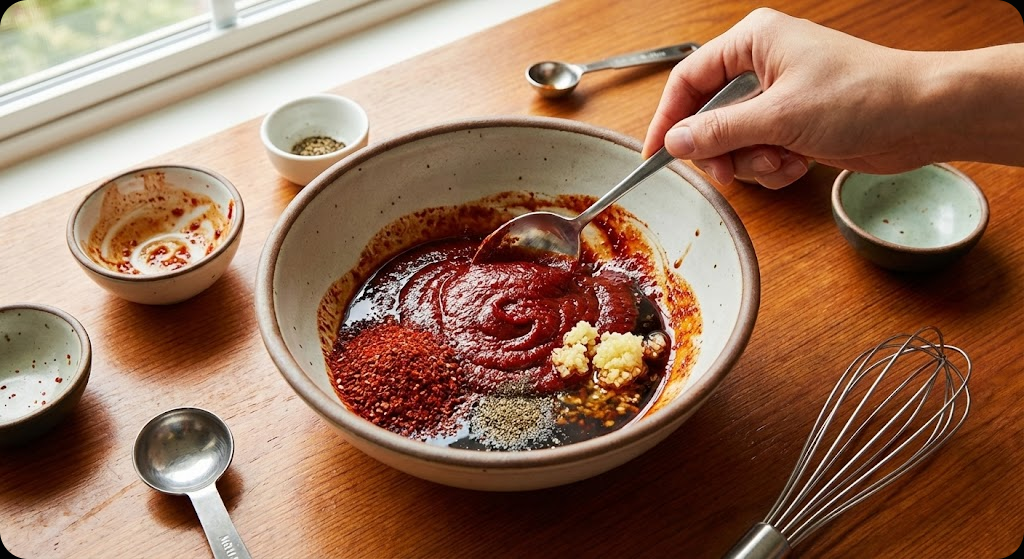
Step 2. Make the Magic Sauce In a bowl, combine the Gochujang, Gochugaru, soy sauce, oligosaccharide, minced garlic, mirin, and black pepper. Stir well until the flavors are fully incorporated. Using oligosaccharide instead of sugar gives the dish a subtle sweetness and a beautiful glossy finish. This is my secret golden ratio for the perfect sauce!
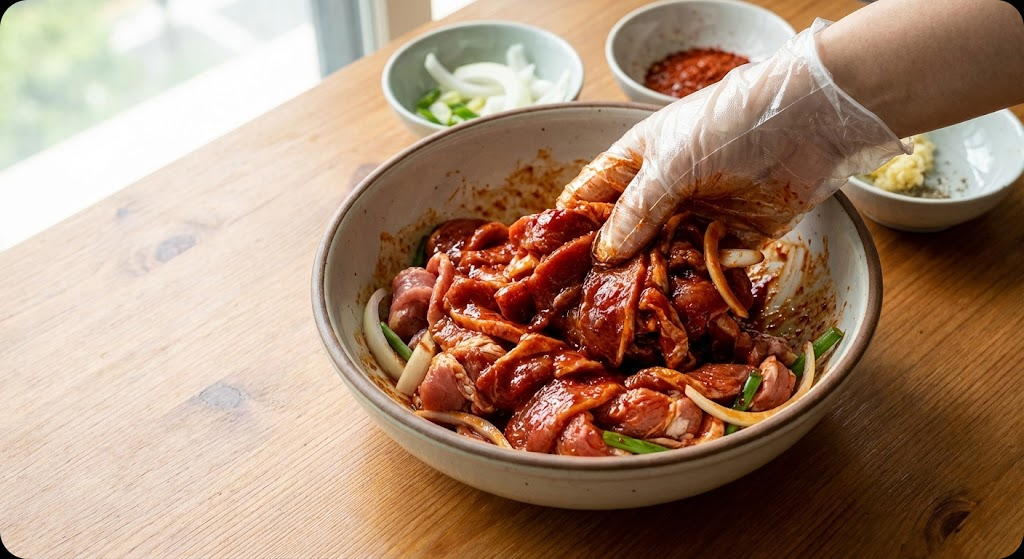
Step 3. Season & Marinate (Optional) Add the sauce to your prepped meat and mix it well with your hands. If you have time, let it marinate in the fridge for about 20 minutes. This allows the sauce to penetrate deep into the meat for a much richer flavor. But if you're starving, don't worry—it’s still delicious if you cook it right away!
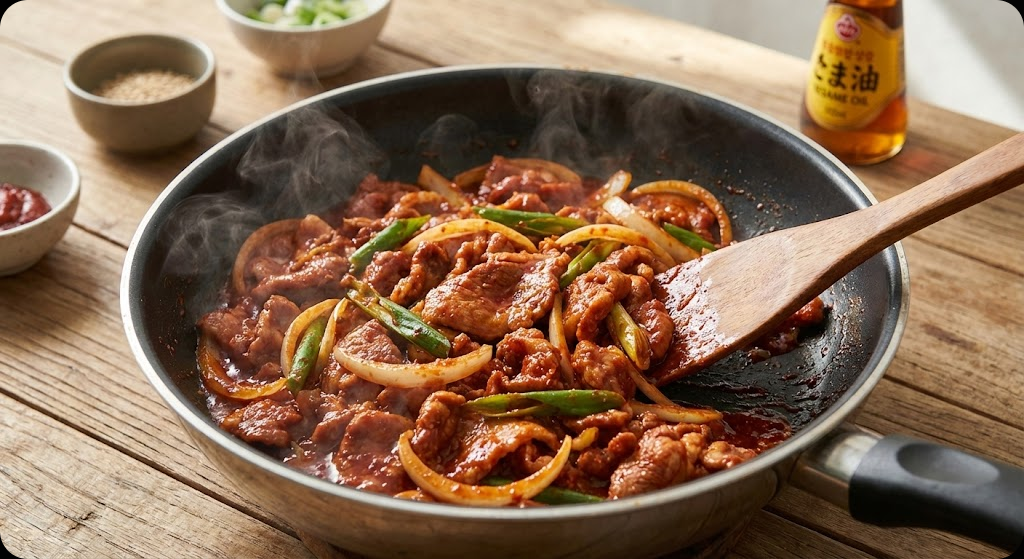
Step 4. Stir-fry to Perfection Heat a pan over medium-high heat with a splash of oil and add the meat first. When the meat is about 70% cooked, toss in the sliced onions and green onions. Adding the vegetables later keeps them crunchy, which elevates the quality of the dish. Make sure to keep the heat high to cook off excess moisture for a concentrated, flavorful sauce.
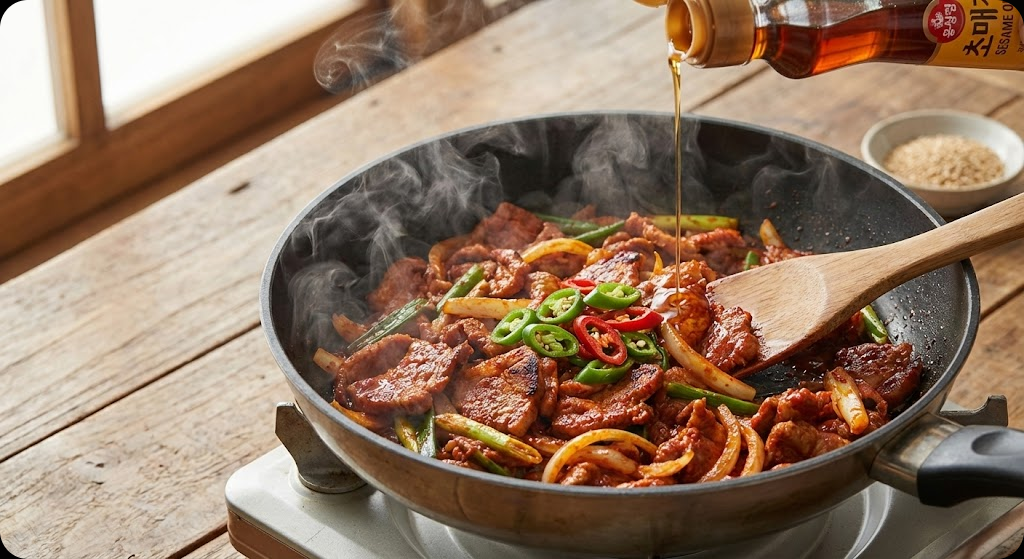
Step 5. Add a Smoky Touch & Finish Once the meat and vegetables are fully cooked, add the chopped chili for a spicy kick and drizzle 1 tablespoon of sesame oil to bring out that savory aroma. Right before turning off the heat, stir-fry on high for another 30 seconds to get that delicious, slightly charred "smoky flavor" (bul-mat).
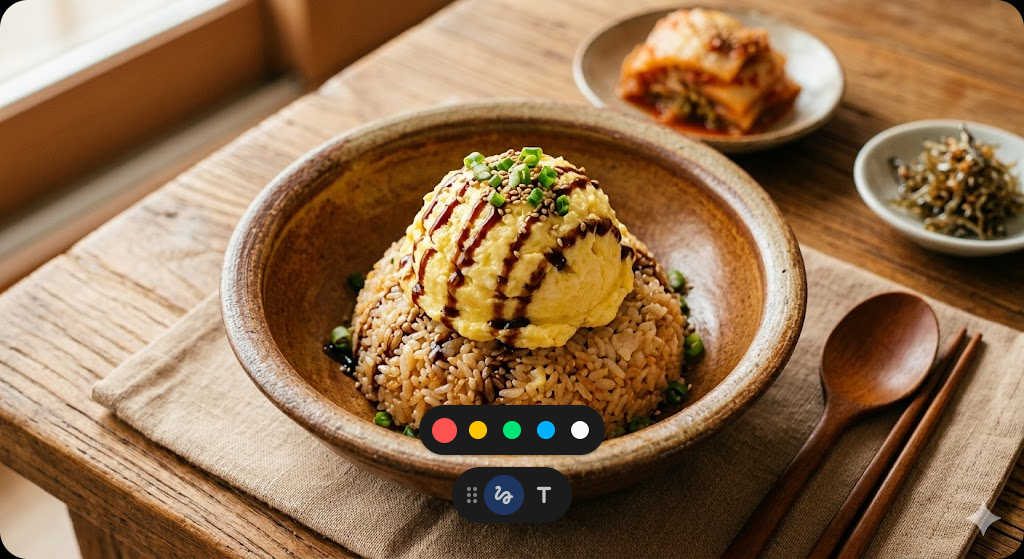
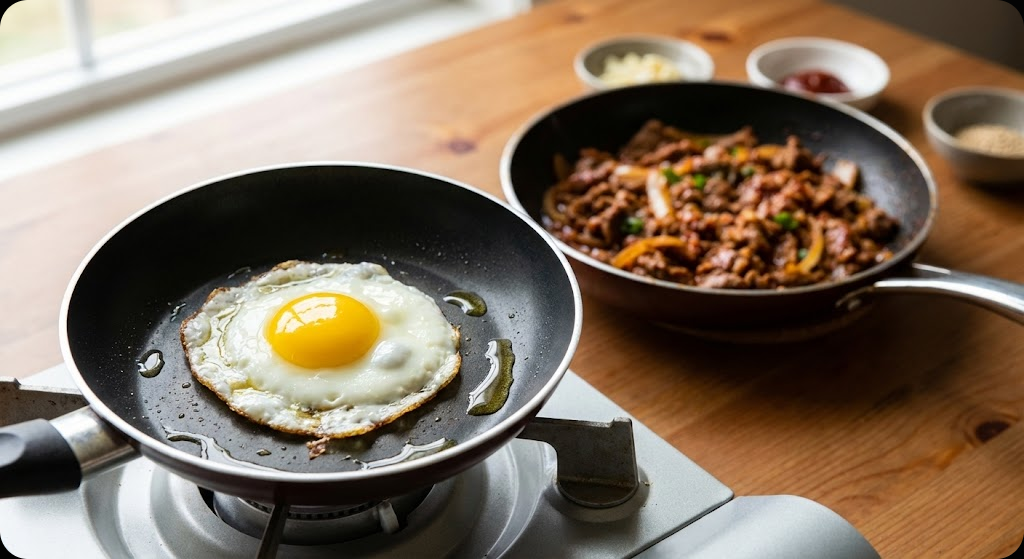
Step 6. Top with a Fried Egg In a separate pan, fry an egg sunny-side up. That moment when the yolk breaks and mixes with the spicy sauce... you know the feeling, right? It's the ultimate finishing touch for any rice bowl!
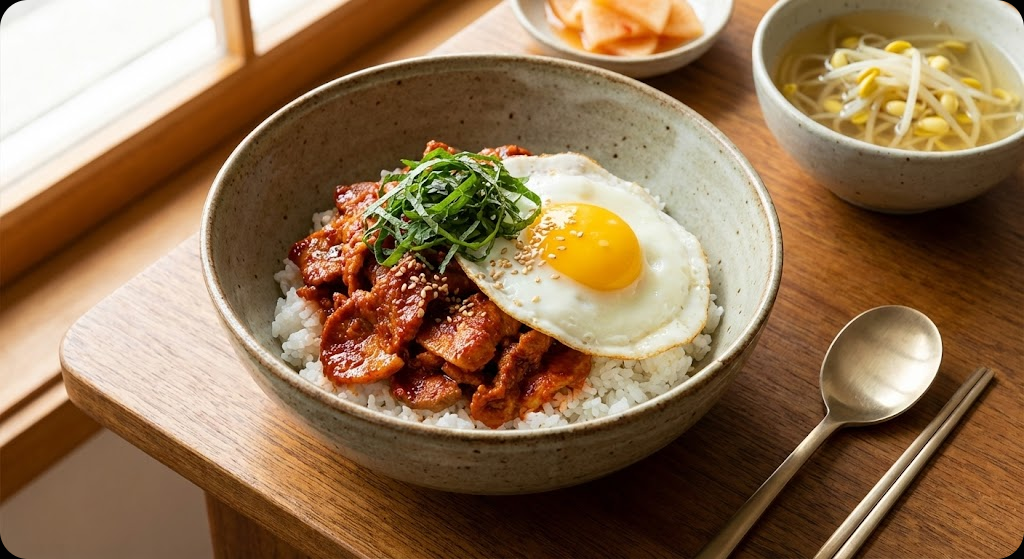
🍱 Plating & Presentation
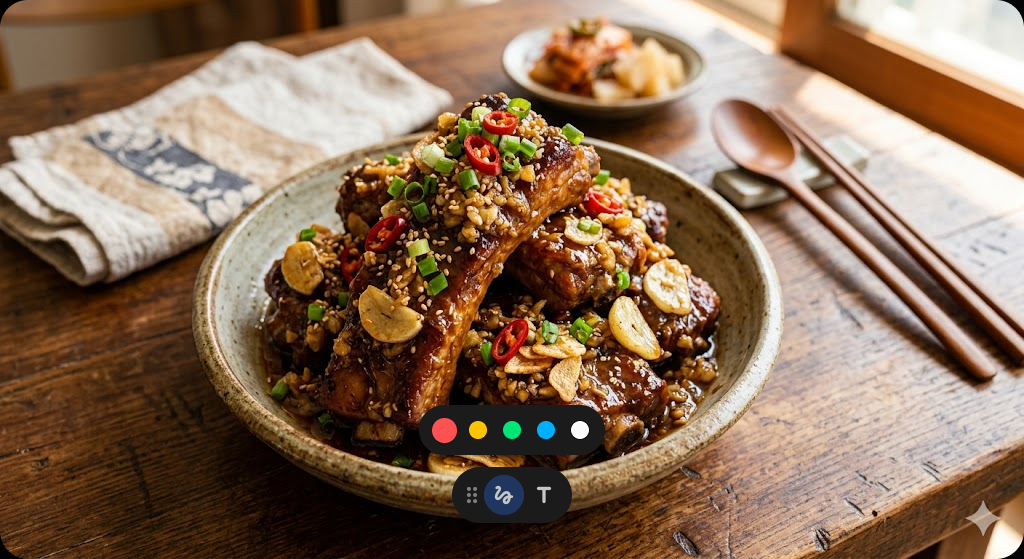
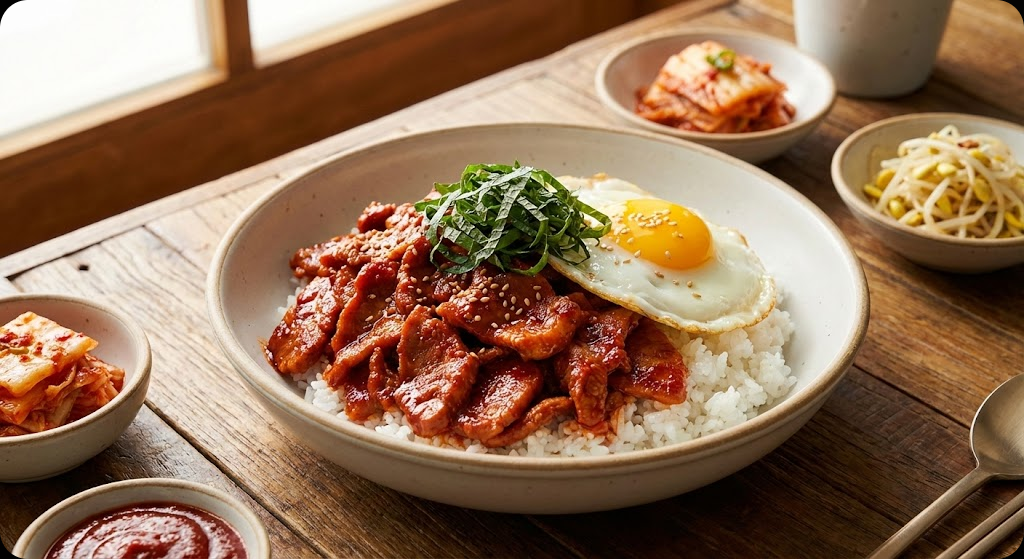
Scoop some warm rice into a bowl and top it generously with the stir-fried Gochujang Bulgogi. Add the shredded perilla leaves and the fried egg, then sprinkle with sesame seeds. Finally, it's done! The fragrance of the perilla leaves combined with the spicy meat is a match made in heaven.
For side dishes, I recommend a refreshing soybean sprout soup or some crunchy pickled radish. They cleanse the palate and balance out the heat perfectly. Pair it with a cold glass of sparkling water, and you've got yourself a gourmet meal! 🥤
💬 Today's Cooking Review
The Gochujang Bulgogi Rice Bowl we made today was truly a "fail-proof, hearty meal." The sweet and spicy sauce seeped into every grain of rice, making every bite absolutely amazing. Using plenty of meat gave it a great texture, and the perilla leaf garnish was definitely the "secret ingredient."
Storage Tip: If you have leftovers, store them in an airtight container in the fridge and reheat in the microwave the next day. However, nothing beats the smoky flavor of a freshly cooked batch! I’m already looking forward to making fried rice tomorrow with the remaining sauce and some seaweed flakes.
Why not brighten up your dinner table tonight with this simple yet impressive Gochujang Bulgogi Rice Bowl? Give it a try and let me know how it goes in the comments! I’ll see you next time with another delicious recipe. Bye! 🥰
🍴 Related Recipes
- 🍜 Clam Noodle Soup (Bajirag Kalguksu): Perfect for Cold Days
- 🍝 The Secret to Silky Smooth Gochujang Cream Tteokbokki
- 🥗 Wild Chive Soy Sauce Noodles: A Fragrant Flavor Explosion
Would you like me to translate another one of your recipes into English, or perhaps help you write a new blog post for another Korean dish?