Authentic Korean Food: Melt-in-Your-Mouth Braised Pork and Kimchi (돼지고기 김치찜) Recipe
🥘 Melt-in-Your-Mouth Rice Thief! Slow-Cooked Braised Pork and Kimchi (돼지고기 김치찜) Recipe Hi everyone!
🥘 Melt-in-Your-Mouth Rice Thief! Slow-Cooked Braised Pork and Kimchi (돼지고기 김치찜) Recipe
Hi everyone! The weather has already gotten quite chilly, hasn't it? 🍂 There’s a certain kind of food that always comes to mind during this season—the kind of dish that makes you happy just by hearing the sound of it bubbling on the stove! Today, I’m going to introduce you to Braised Pork and Kimchi (돼지고기 김치찜), a dish that has earned me a flood of questions like, "Did you really make this yourself?" every time I’ve invited friends over.
They say half of Kimchi-jjim is the effort you put in, but as long as you nail a few key points, even beginners can achieve a deep, professional-grade flavor. When you eat out, there’s often too little meat or too much MSG, which can be disappointing. But when you make it at home, you can pack it with meat and adjust the seasoning exactly to your liking. I’ll walk you through it step-by-step today, so follow along!
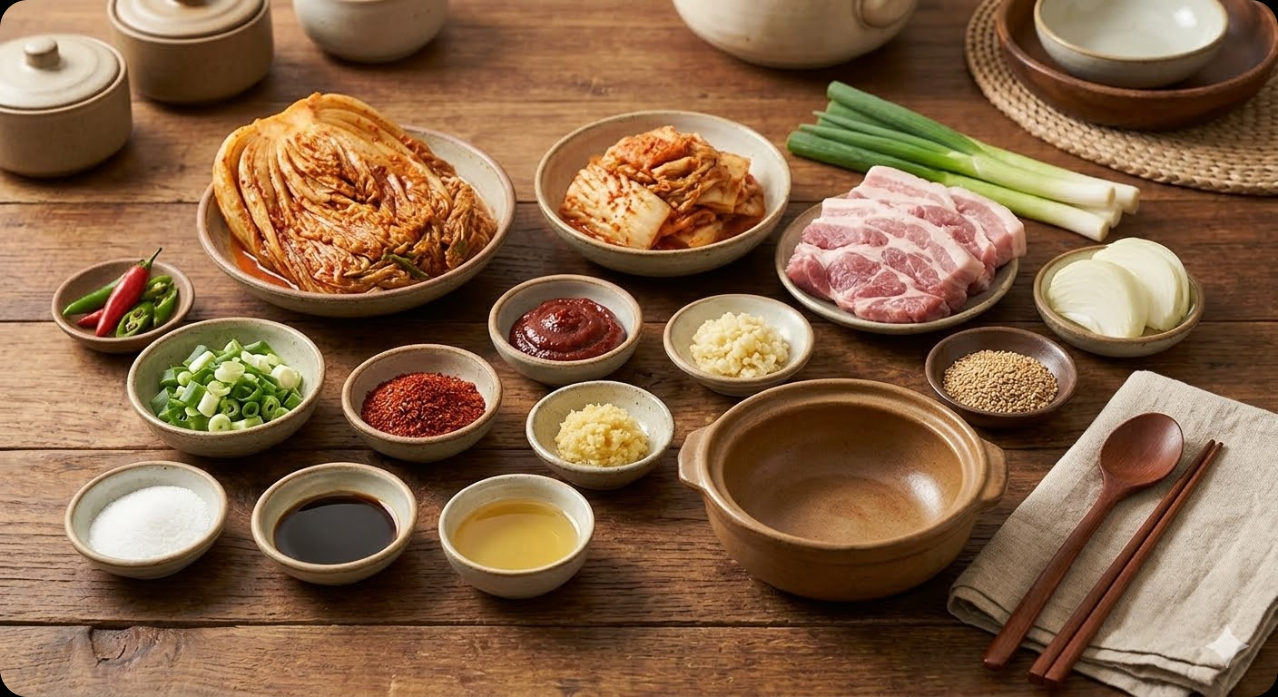
✅ Ingredients (Serves 2)
The ingredients are surprisingly simple! However, don't forget that the quality of your kimchi and meat accounts for about 80% of the flavor. 😉
- Essential Ingredients: 400g (approx. 14 oz) pork shoulder or pork belly, 1/4 head of well-aged kimchi (sour/matured), 1/2 onion, 1 green onion, 1–2 Korean/Thai chili peppers
- Sauce Ingredients: 2 tablespoons gochugaru (Korean chili flakes), 1 tablespoon guk-ganjang (soup soy sauce), 1 tablespoon sugar (adjust based on kimchi sourness), 1 tablespoon minced garlic, 2 tablespoons mirin (cooking wine), a pinch of black pepper
- Stock: 2 cups (500ml) rice water (Regular water works, but rice water adds a savory depth and helps neutralize meat odors!)
💡 Pro Tip: I highly recommend pork shoulder with a good amount of fat! It’s budget-friendly and creates a wonderful texture that pulls apart along the grain after a long simmer. If your kimchi is too sour, add a little extra sugar; it neutralizes the acidity and brings out the umami.
👩🍳 Let’s Get Cooking!
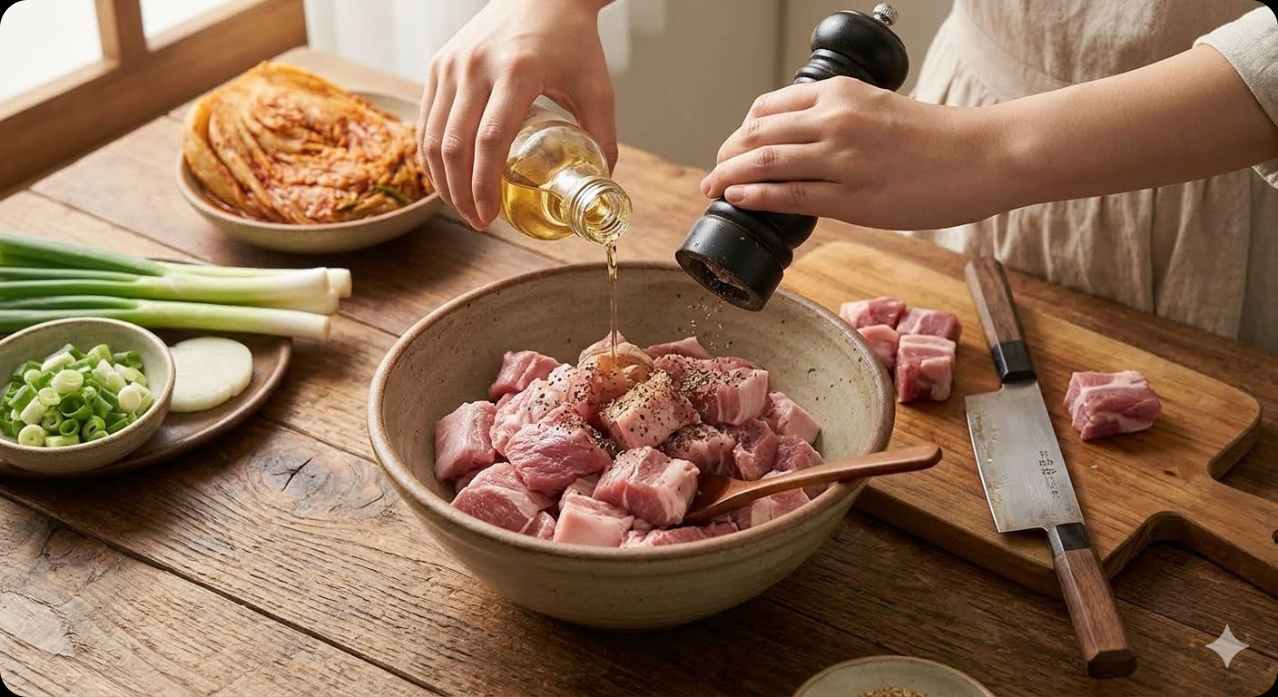
Step 1. Seasoning the Pork
First, cut the pork into large, bite-sized chunks. Be careful not to cut them too small, or they might crumble later! Sprinkle the meat with mirin and pepper, and let it marinate for about 10 minutes. This helps remove the "porky" smell and ensures a much cleaner taste.
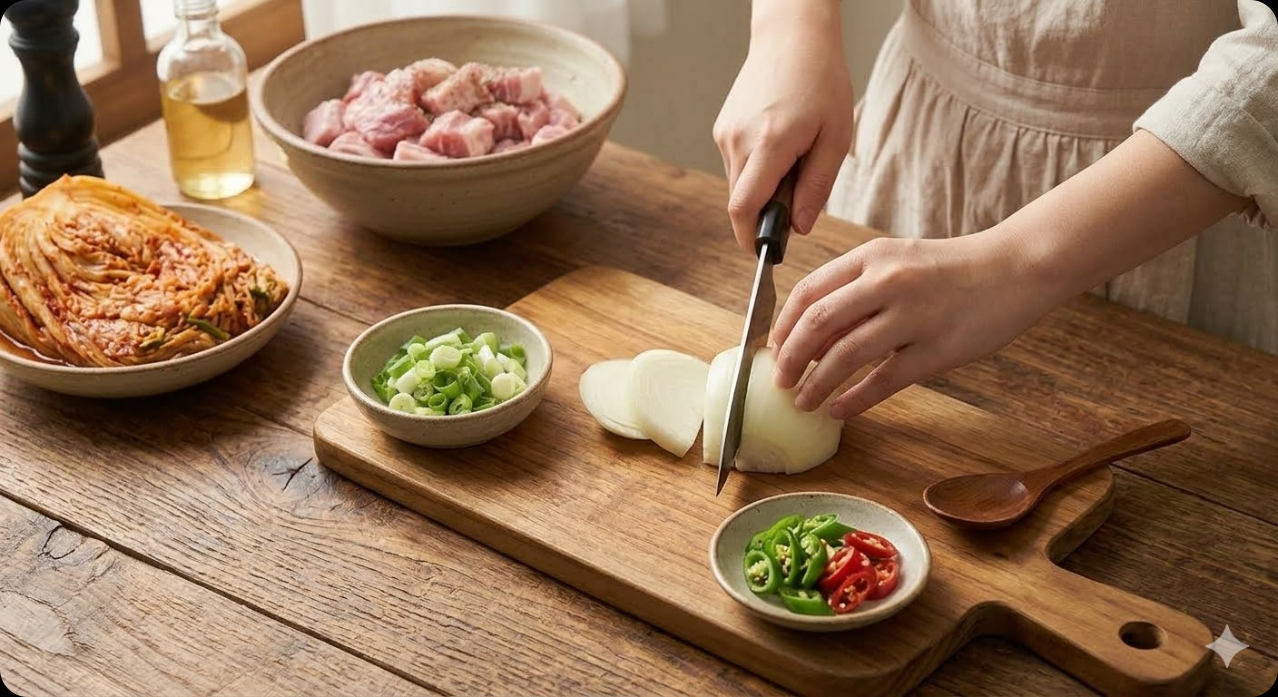
Step 2. Prepping the Vegetables
While the meat is marinating, thickly slice the onion and diagonally slice the green onion and chili peppers. Adding a generous amount of onion provides a subtle sweetness that deepens the broth without needing too much sugar. For those who love a kick, go ahead and add an extra chili! 🌶️
Step 3. Layering the Kimchi and Pork
Lay the sliced onions at the bottom of the pot first. Place the kimchi over them either as a whole piece or by rolling the pork chunks inside the kimchi leaves. When I'm feeling lazy, I just lay down the kimchi and tuck the meat in between—the taste is just as amazing! Adding about a ladle of kimchi juice to the pot makes seasoning much easier.
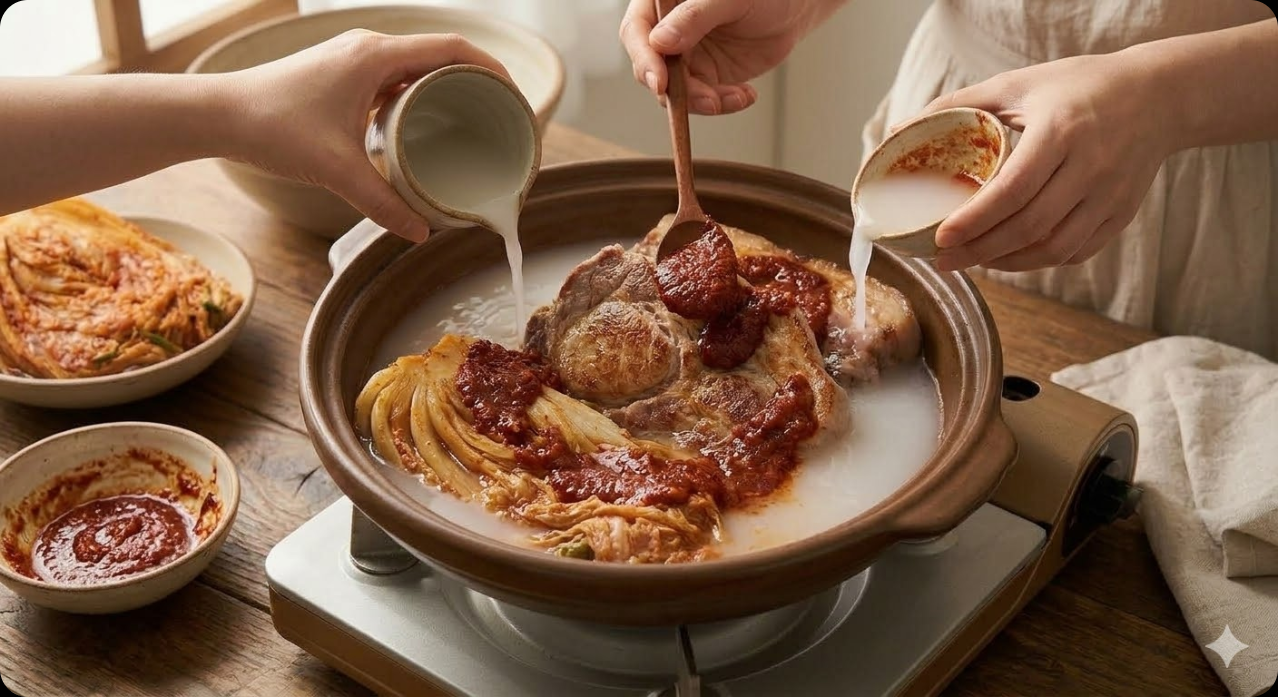
Step 4. Adding the Sauce and Rice Water
Pour the 2 cups of rice water into the pot and spread the pre-mixed sauce (gochugaru, soy sauce, garlic, etc.) evenly over the top. It's better not to add too much water at first; just enough to partially submerge the ingredients is perfect. You can always add more later if needed.
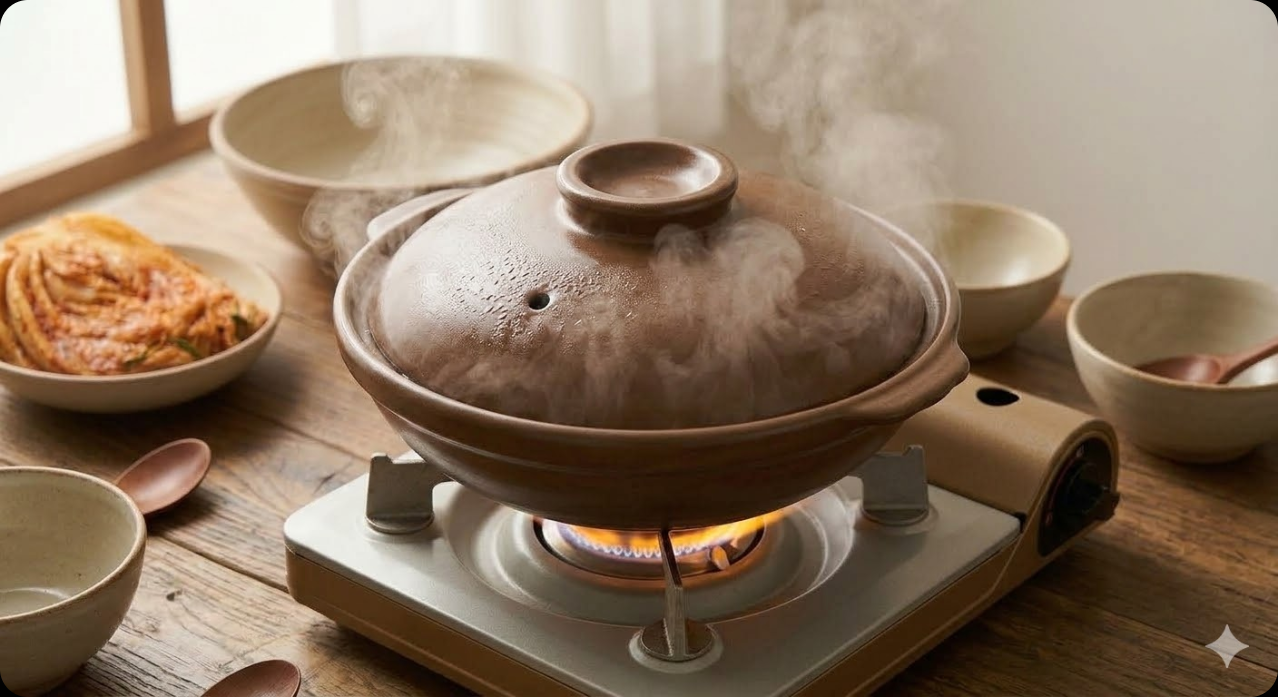
Step 5. Bringing to a Boil
Now, cover with a lid and bring to a boil over high heat. Once the broth starts bubbling vigorously, let it boil for about 5 minutes to allow the flavors from the meat and kimchi to start infusing. This is when the delicious aroma starts filling the whole house!
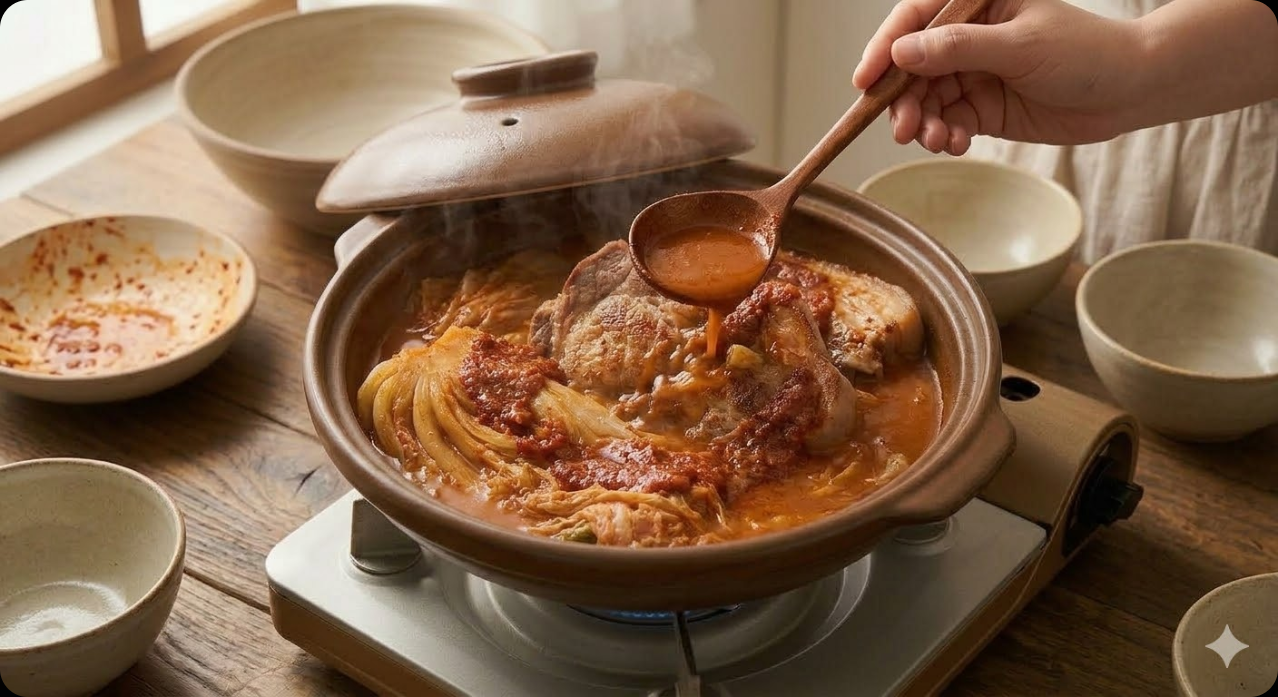
Step 6. Simmering Low and Slow
This is the most important step! Reduce the heat to medium-low and simmer for 30 to 40 minutes. The key to Kimchi-jjim is getting the kimchi soft enough to be translucent and the meat tender enough to fall apart with just a pair of chopsticks. Occasionally ladle the broth over the meat and cook with care. ✨
Step 7. Final Seasoning
Once the kimchi is perfectly tender, add the green onions and chili peppers. Give it a taste; if it's a bit bland, add a touch of fish sauce or soup soy sauce. If it's too salty, add a splash of water and give it one last boil.

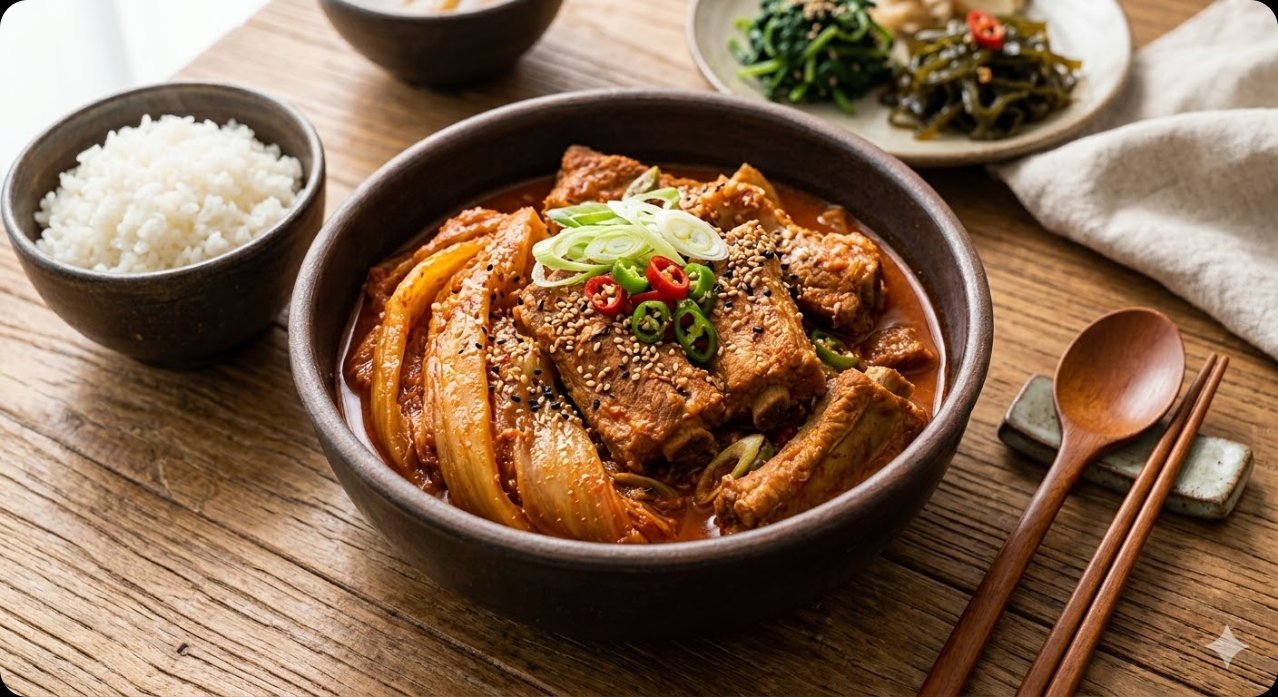
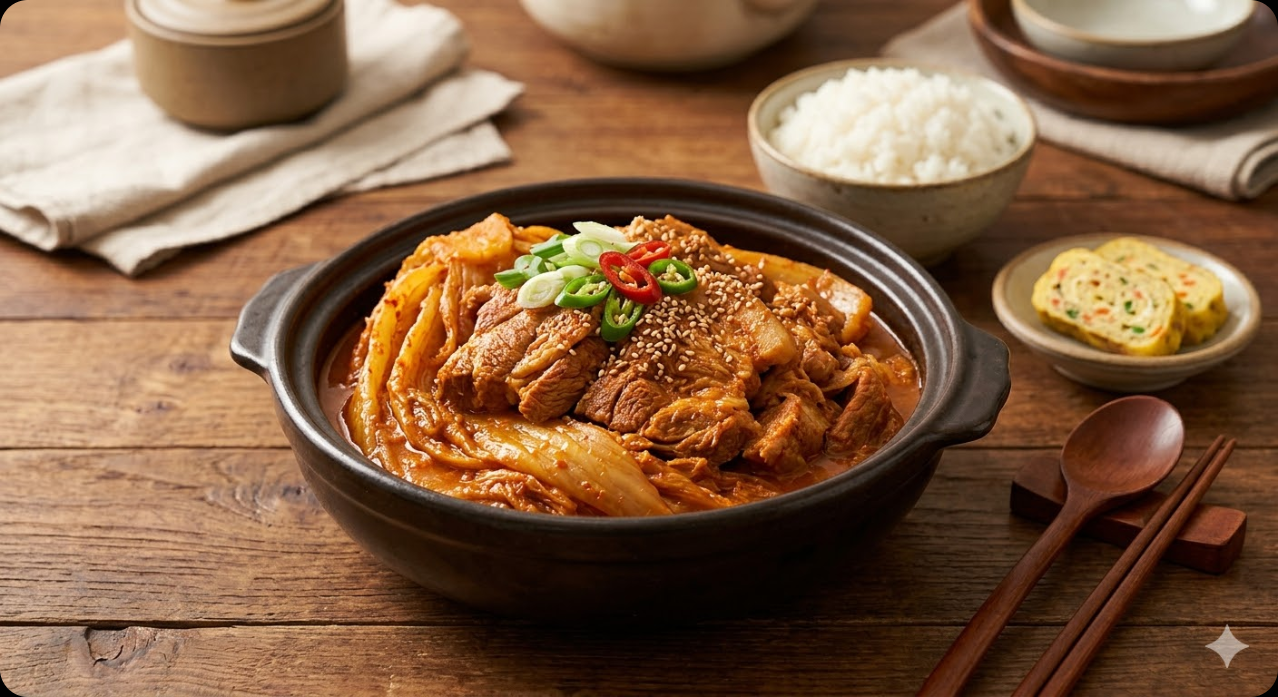
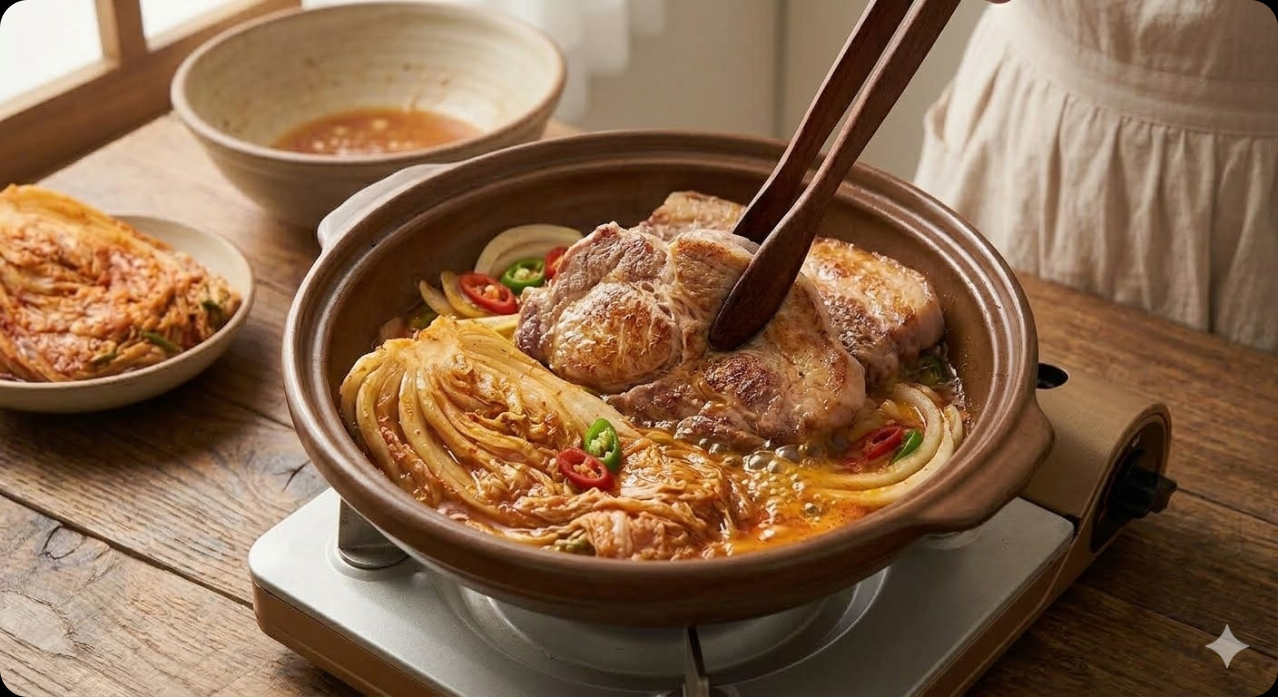
✨ Plating and Perfect Pairings
When serving the finished Kimchi-jjim, try placing the kimchi long and uncut on the plate so you can tear it length-wise. Doesn't the visual just scream "I'm a pro!"? This dish is a must with freshly cooked white rice. To balance the spice, pair it with fluffy rolled omelets (gyeran-mari) or pan-fried tofu in perilla oil for an absolutely perfect meal. 🍚
Sitting around with friends or family, wrapping a piece of meat in a long strip of kimchi and taking a big bite... ah, that is pure happiness! It also makes for an incredible snack with a cold beer.
📝 Final Thoughts & Storage Tips
In my experience, Kimchi-jjim is delicious the day you make it, but it’s truly spectacular when reheated the next day. The flavors soak even deeper into the meat! If you have leftovers, store them in an airtight container in the fridge. When reheating, add about half a cup of water and warm it up slowly over low heat.
With simple ingredients, anyone can become a chef with this Braised Pork and Kimchi! How about making this for dinner tonight? I'm sure it will be a hearty meal that lifts your spirits. I'll be back with more delicious and trendy recipes next time! Bye for now~ 👋