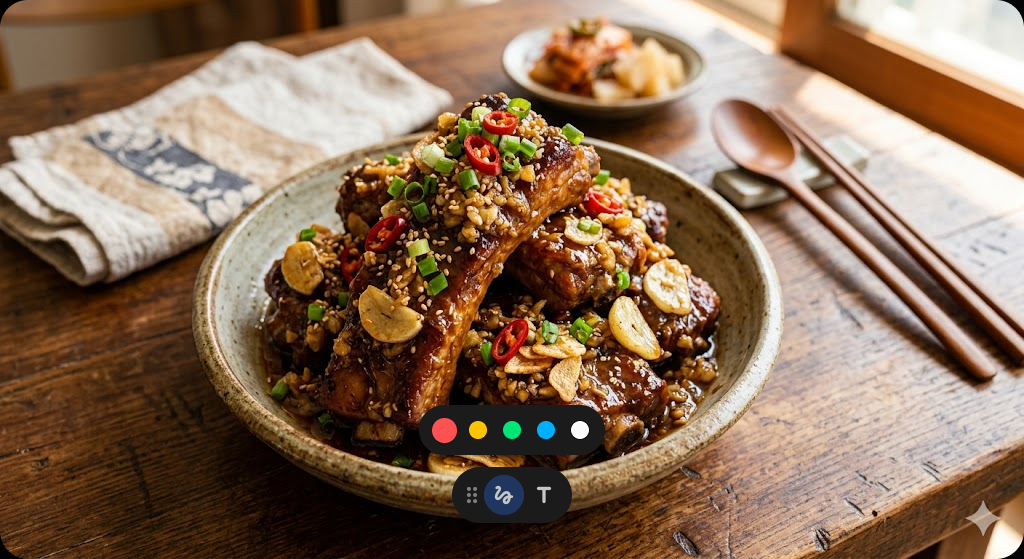
Ultimate Korean Food Guide: Braised Tofu (Dubu Jorim) 양념장이 참 맛있는 두부조림 with the Perfect Spicy Sauce
Hello! Today I've brought a recipe that's the ultimate "fridge-raid" masterpiece, yet tastes like a gourmet dish.
Hello! Today I've brought a recipe that's the ultimate "fridge-raid" masterpiece, yet tastes like a gourmet dish.
Everyone, aren't grocery prices just crazy lately? It's almost scary to go to the supermarket, but in the midst of it all, we have a "budget-friendly superstar" that always has our back: Tofu! I picked up a block of tofu on my way home yesterday. Just pan-frying it felt a bit boring, and I was craving something special. So, I made my absolute favorite—Braised Tofu with a Delicious Sauce (양념장이 참 맛있는 두부조림)!
Actually, braised tofu is a common side dish, but surprisingly, many people find it hard to get the seasoning just right. Have you ever had it turn out too salty, or had the sauce just slide off, leaving the inside bland? I can confidently say that if you follow today's recipe, "Success is guaranteed!" From college students to kitchen newbies, everyone can create their "life-changing" braised tofu. I'm revealing my top secrets right now!
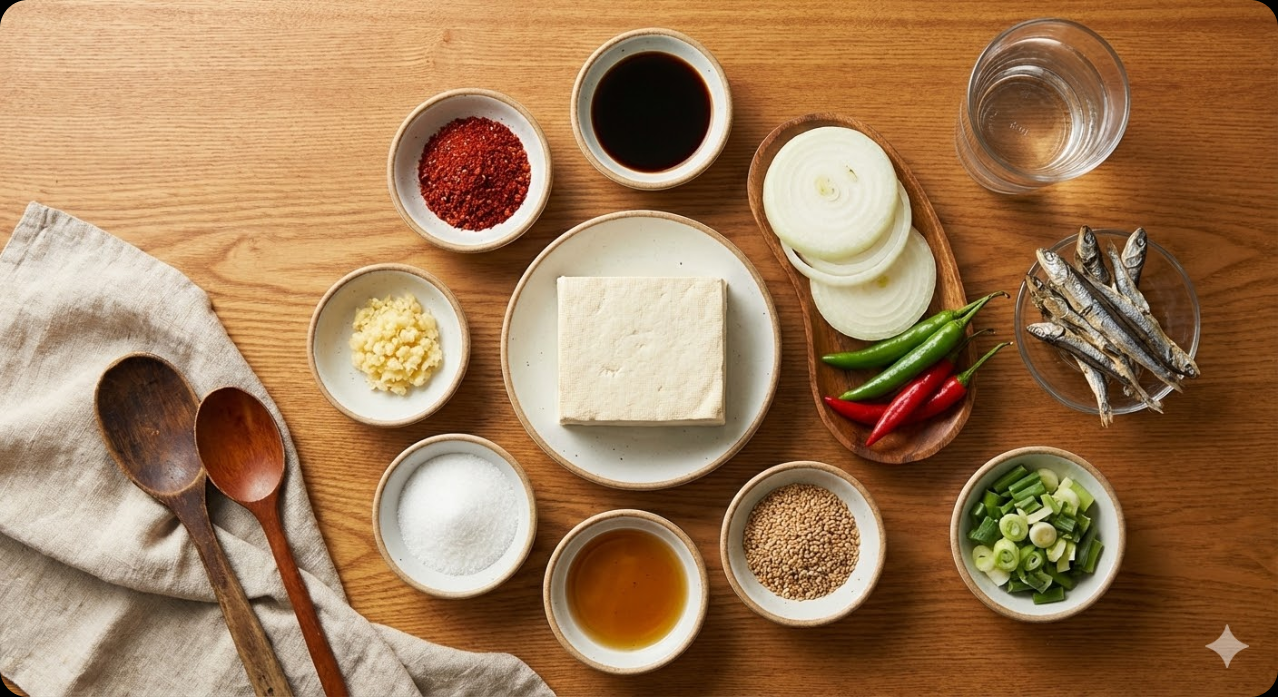
Today's Star! Shall we prepare the ingredients? (Serves 2)
The foundation of great cooking is fresh ingredients! But feel free to adjust based on what's in your fridge.
- Essential Ingredients: 1 block of firm tofu (approx. 10-16 oz/300-500g), 1/2 onion, 1/2 stalk of green onion, 1 Korean green chili (Cheongyang), 1 red chili (for color)
- Sauce Ingredients: 4 tablespoons soy sauce, 2 tablespoons Korean chili flakes (Gochugaru), 1 tablespoon sugar, 1 tablespoon minced garlic, 1 tablespoon perilla oil (or sesame oil), 1/2 cup water (approx. 100ml), a pinch of black pepper
- Optional Ingredients: Plenty of toasted sesame seeds, anchovy broth (using this instead of water makes the umami flavor explode!)
Blogger's Pro Tip! Choose "firm" or "extra-firm" tofu rather than "soft/silken" tofu. It won't break easily during the braising process, allowing you to achieve a chewy exterior and a moist, tender interior. If you want a healthier version, feel free to use oligosaccharide or allulose instead of sugar!
The "Can't-Stop-Eating" Cooking Process
Now, let's officially start making the Braised Tofu with a Delicious Sauce (양념장이 참 맛있는 두부조림). I'll walk you through it in 5 easy steps, so just follow along!
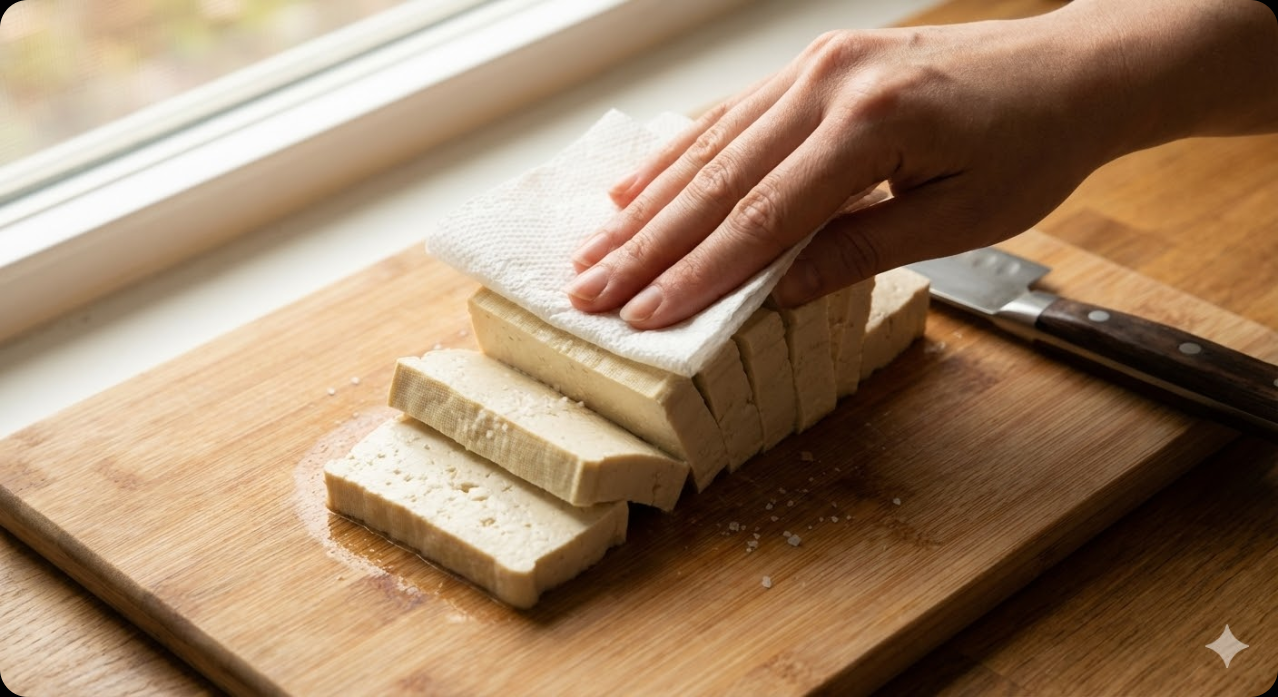
Step 1. Seasoning and Removing Moisture from Tofu
First, slice the tofu into bite-sized pieces (about 1/2 inch thick). Then, the key point is to gently press them with a paper towel to remove excess moisture! You need to dry them well so the oil doesn't splatter when frying and the sauce seeps in better. At this point, sprinkle a pinch of salt to lightly season the tofu; it makes the tofu's natural flavor much deeper.
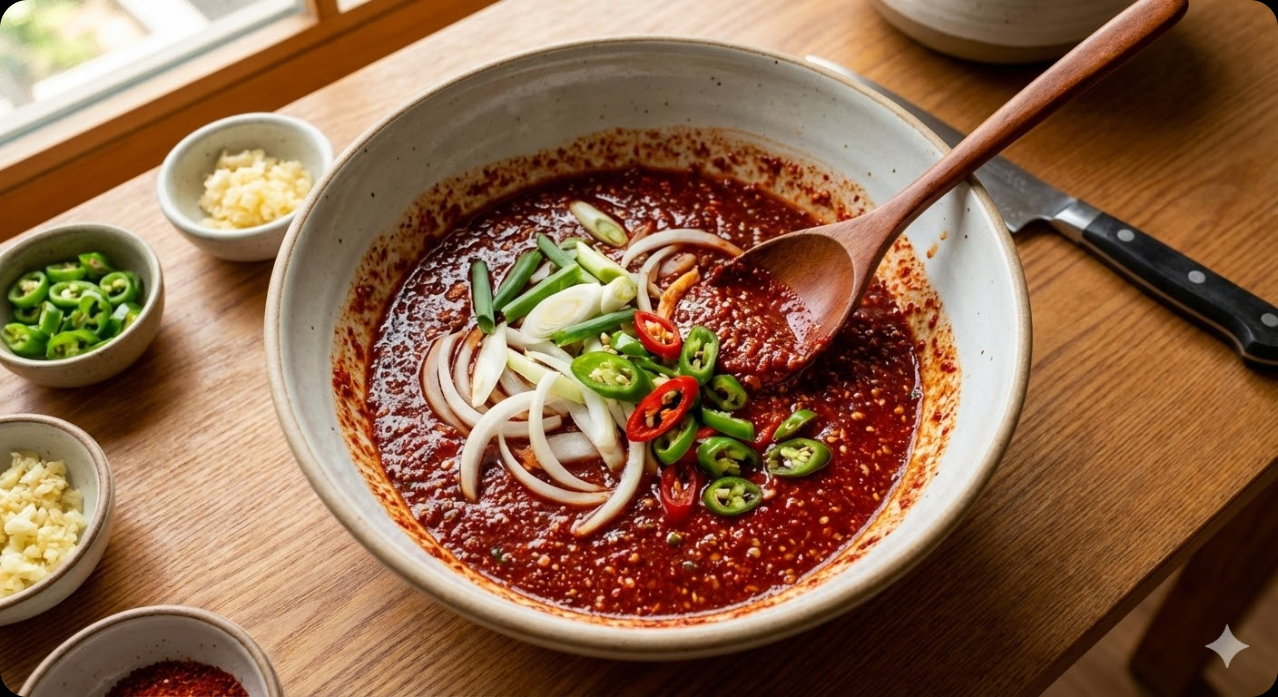
Step 2. Prepping Veggies and Making the Sauce
While the tofu is drying, prep your vegetables. Thinly slice the onion, and diagonally slice the green onions and chilies. Now, it's time for the perfect ratio sauce! In a bowl, mix the soy sauce, chili flakes, sugar, garlic, and perilla oil. Adding the perilla oil to the sauce beforehand allows the savory aroma to penetrate deep into the tofu during cooking, creating an amazing flavor profile!
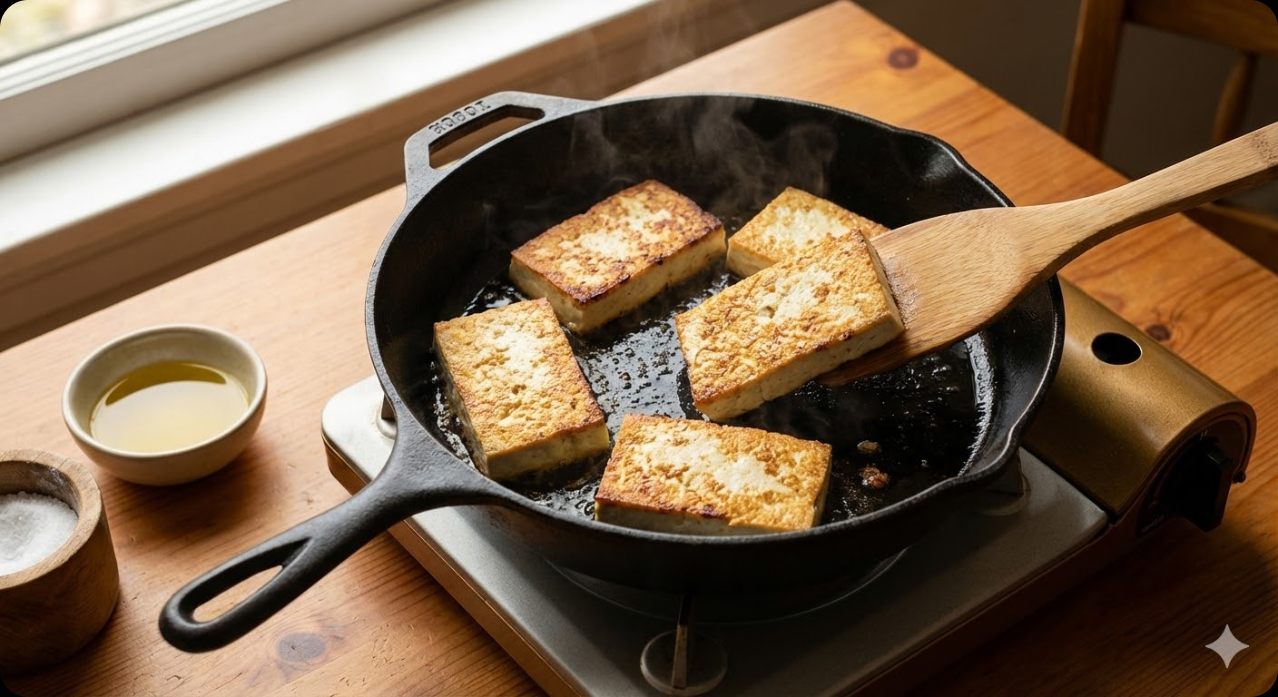
Step 3. Pan-frying Tofu until Golden (The secret to texture!)
Add a generous amount of oil to a pan and fry the tofu over medium heat. You might ask, "Can't I just braise it immediately?" Trust me, you must fry it! Coating the exterior until it's golden brown makes the texture much chewier and doubles the nuttiness when it's eventually braised in the sauce. The key is to fry it thoroughly until both sides are nice and golden.
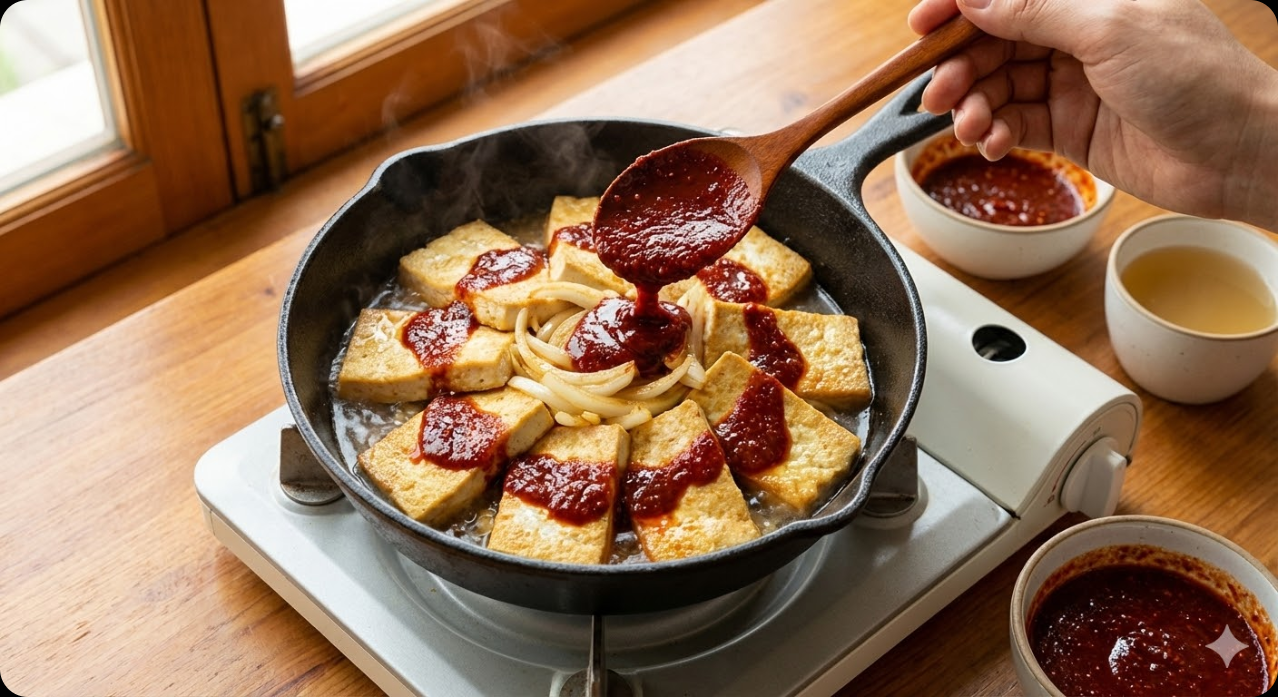
Step 4. Layering and Braising
Place the pre-sliced onions on top of the well-fried tofu. The sweetness released from the onions blends with the sauce to create a natural umami flavor. Pour the prepared sauce evenly over the top and add the water (or broth). Adjust the heat to medium-low. Be careful! If the heat is too high, only the sauce will burn and the seasoning won't penetrate the inside of the tofu.
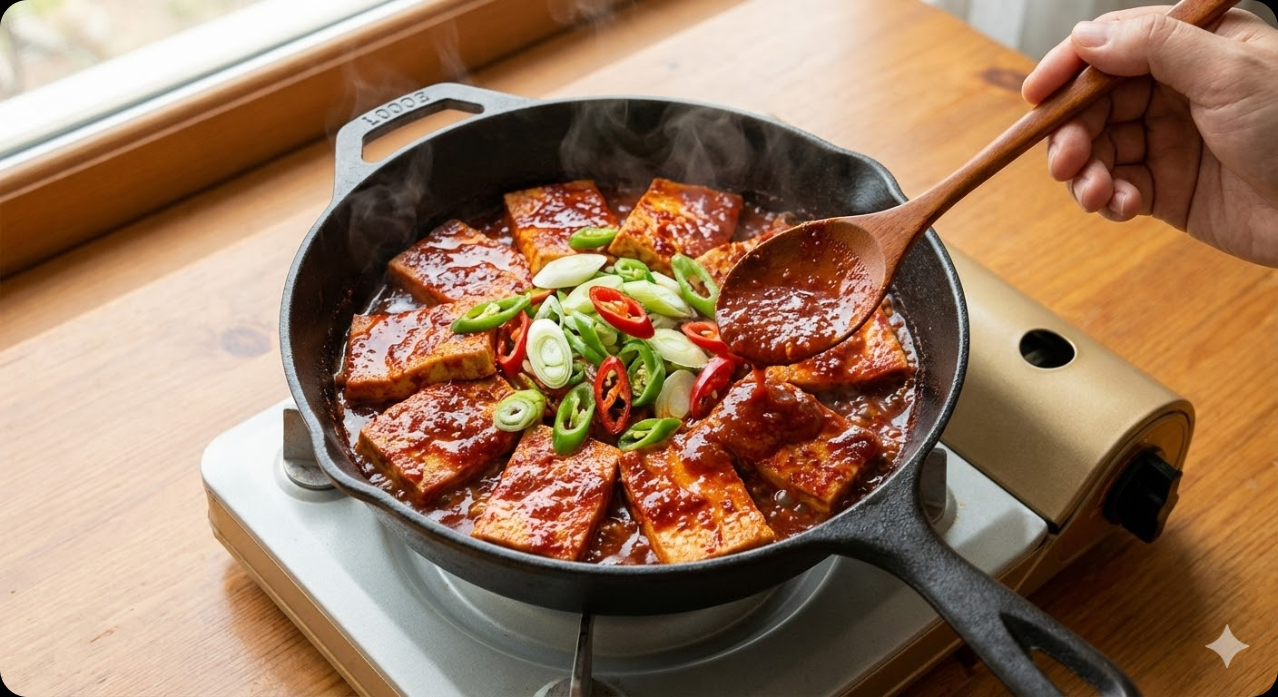
Step 5. The Final Touch: Adding Veggies
When the liquid starts to reduce and thicken, add the green onions and chilies. The point here is to keep spooning the sauce over the tofu while it braises! Once the sauce is reduced until it just barely coats the bottom of the pan, you're done. Turn off the heat and sprinkle a generous amount of sesame seeds for a perfect home-cooked meal visual.
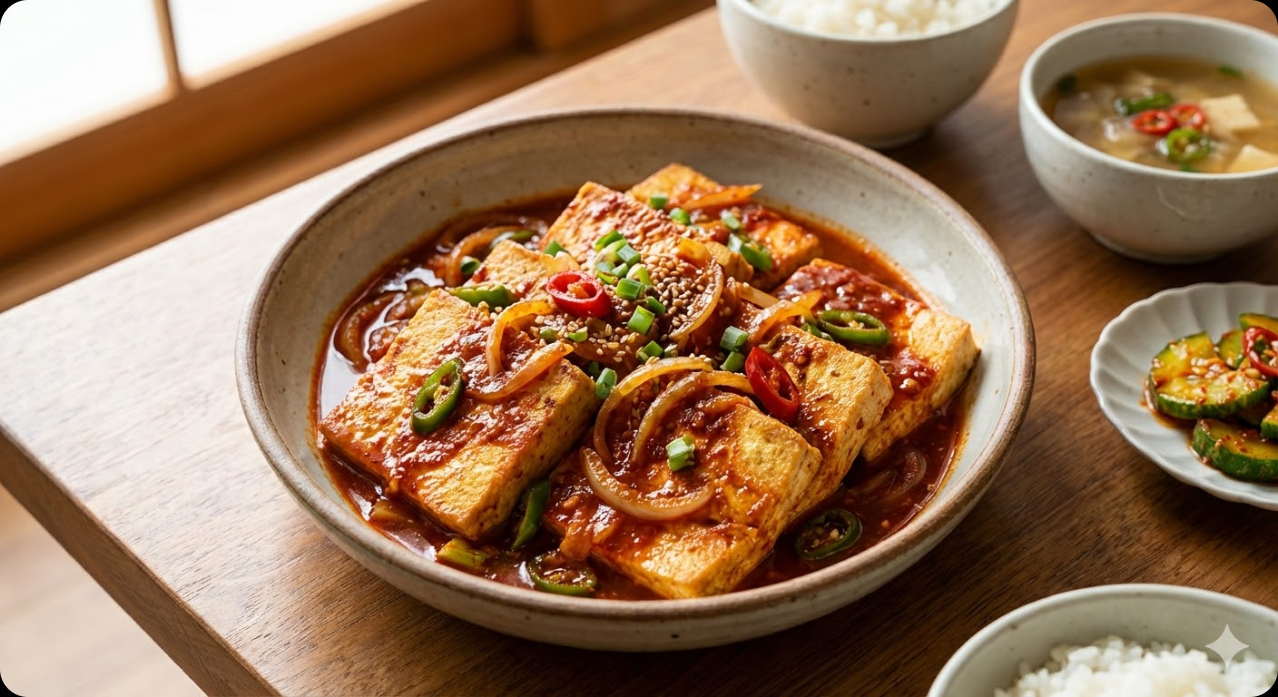
A Mouthful of Savory Goodness: Plating Tips
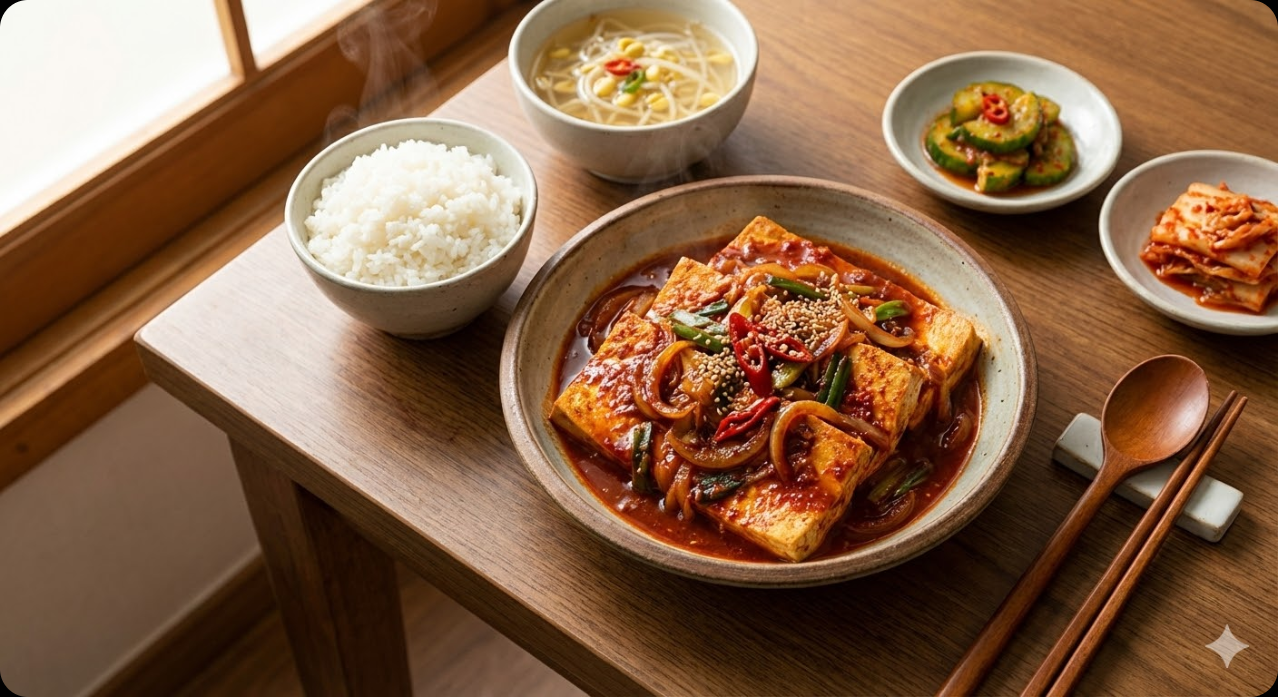
For the finished braised tofu, stack the pieces slightly overlapping on a wide plate and pile the braised onions and chilies on top. The contrast between the red sauce and the green onions/chilies looks incredibly appetizing, doesn't it? I prepared it today with freshly cooked white rice, and honestly, you don't need any other side dishes.
As for pairings, I recommend a refreshing bean sprout soup or a crisp cucumber salad. These will help balance out the spicy and savory flavors of the tofu. If you're eating solo, try mixing it with a sunny-side-up egg over rice. You'll literally say, "Wow, this is insane!" with every bite!
Honest Review & Storage Tips
Having made and tasted this myself, the highlights of this recipe are definitely the nuttiness of the perilla oil and the texture of the pan-fried tofu. One bite gives you that salty, sauce-soaked exterior followed by the clean, mild flavor of the tofu—a true "rice killer." My husband and friends all gave it a huge thumbs up, so I highly recommend you try it.
If you have leftovers, store them in an airtight container in the fridge. It tastes great cold, but just 1 minute in the microwave will make it moist and tender again, just like it was freshly made. But because it's so delicious, there probably won't be any left! This $3 joy—how about it for dinner tonight? You definitely have to give it a try!
I hope you have a delicious day, and feel free to leave any questions in the comments! I'll be back with even more tasty cooking secrets next time. Bye!